Hiya everyone...
So -- you noticed that I asked how you felt about my template change. Well... I've actually decided on an even bigger one.
I'm leaving blogspot.com
That's right... after a chat with a friend who, in another life, was a web designer, I've decided to go over to wordpress.com
All this means is that you should change your favourites (if this is indeed one of your favourites) to the following address:
http://thetwistedchef.wordpress.com
or click here:
The Twisted Chef (version 2.0)
Check it out... I'm really excited about all the blogging to come... and I really think this new site will allow me to develop my blogging abilities.
I hope you like it as much as I do.
I really hope that you follow me over... become a "follower" ... ;0) and you'll get my updates automatically to your email address. See... I'm doing most of the work for you!
See you over at wordpress.com!!!
And thank you for helping me start this adventure; I'm really enjoying this ride!
See you soon (and to tempt you... I've already posted something on the new site).
Sunday, June 13, 2010
Saturday, June 12, 2010
chocolate, raspberry and fudge... how a-maz-ing is that?!


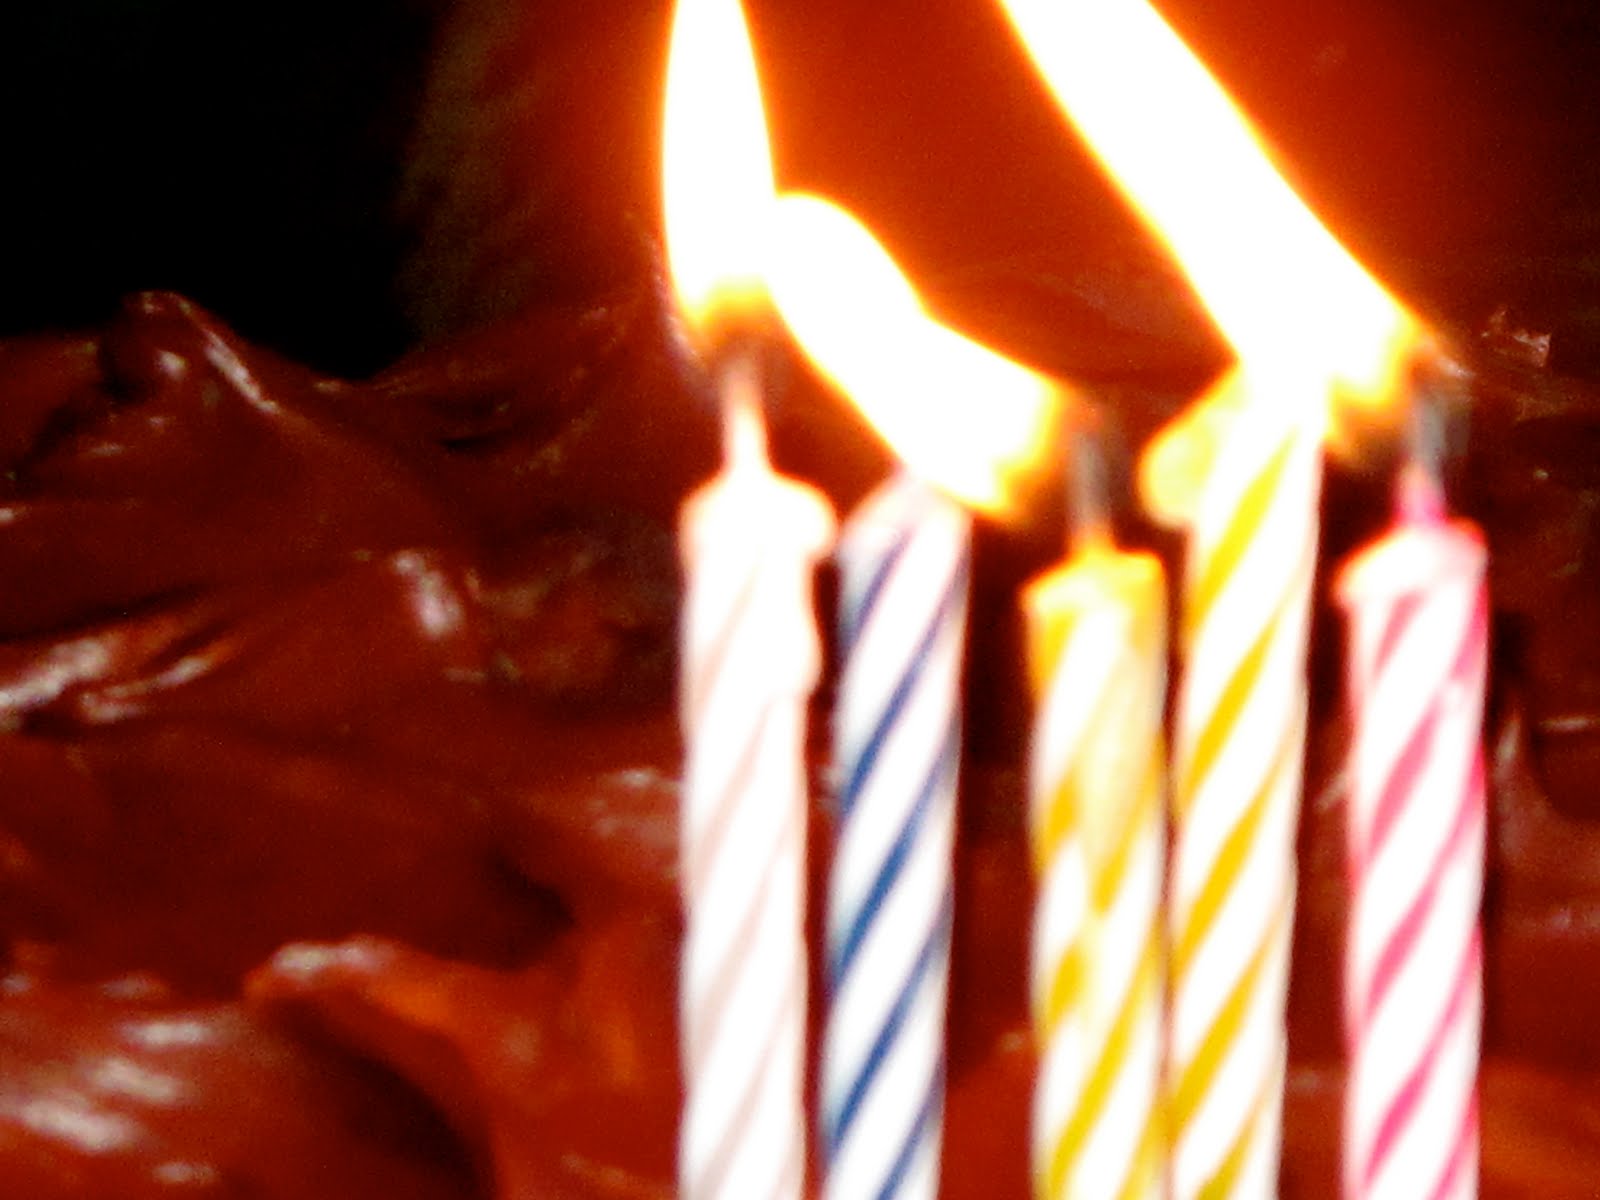
Oh how I heart to bake. Especially cakes. Especially when they turn out and are beautiful and taste delicious... those are great days. Thursday was a great day.
I baked for The Whalesbone's 5 year anniversary party. I was given carte blanche... however was informed that Josh hearts all things chocolate. The more chocolate -- the better.
Done. I knew exactly which cake I was going to make. I've baked this specific cake recipe twice already; once with a peanut butter butter cream and covered in chocolate ganache (yes... you should moan). The second time with a cherry whipped cream filling and then covered in a chocolate fudge frosting (again... sighs or moans are acceptable).
I decided to hit it up with a fresh raspberry butter cream filling and then cover it in the chocolate fudge frosting. Double the chocolate impact, with the bright, tartness of the fresh raspberries to liven it up. S-U-C-C-E-S-S!
I played around with the original recipe (from smitten kitchen) since I was making 3 x 9-inch rounds and not 8-inch rounds. I love love love how this cake turns out... it is so moist (it puts a Betty Crocker or Duncan Hines cakes to shame) and rich... one thing, watch out, it's a little delicate. But don't let that put you off. It's awesome. I promise.
super moist chocolate cake
ingredients:
3 c. all-purpose flour
3 3/4 c. sugar
1 1/4 c. unsweetened cocoa powder (the richer the better)
3 tsp baking soda
1.5 tsp salt
1 1/2 c. neutral vegetable oil (I use sunflower oil)
1 1/2 c. sour cream
2 c. water
3 tbsp distilled white vinegar
2 tsp vanilla extract
2 eggs
Preheat your oven to 350 F. Spray the base and sides of 3 x 9-inch round pans with some non-stick spray. Set aside.
Sift (yes, I've started sifting...) together the flour, sugar, cocoa powder, baking soda and salt in the bowl of your stand-mixer. Use your paddle attachment to combine well.
Add the oil and sour cream and continue to blend. Gradually beat in the water (I added it half a cup at a time) and then add the vinegar and vanilla. Grab your eggs and whisk them in a small bowl. Once whisked, add to the batter. Make sure that your batter is well blended, scraping down the sides of the bowl as necessary.
Divide the batter evenly between the 3 pans. Bake for between 35 - 45 minutes... a wooden toothpick should come out almost clean: remember, this is a moist cake. Allow the cakes to cool in the pans on a wire rack (I let them sit for about 30 minutes). At that point, take them out of the pans and allow them to cool completely.
Simple eh? Yep. Now... you can either decide to wrap each layer really well in plastic wrap and stick them in the freezer to firm up OR you can work with them as they are. Your choice. If you freeze them, then take them out as you start on your butter cream -- that will give them a chance to thaw a little before icing them. Do whatever you are comfortable with.
I played around with my raspberry butter cream frosting, using fresh raspberries since I could pick them up in the market ;0)
I like to stack my cake layers before making the fudge frosting. It gives them a chance to sit a little... but that's just my preference.
Now for the chocolate fudge frosting. Probably the easiest thing ever. You only need two ingredients... sour cream and chocolate. That's it.
chocolate fudge frosting
ingredients:
13 oz bitter and semi-sweet chocolate combo, finely chopped
500 ml (one large container) of full-fat sour cream
Melt the chopped chocolate in a double boiler over simmering water, stir until smooth. Once melted, allow it to cool until it is just warm to the touch.
Grab a large spatula and fold in the sour cream -- only until no white streaks remain... otherwise the frosting becomes too thick. You know it's ready because it'll look really silky. Best to use it right away... but I've heard it's pretty awesome for dipping cookies in ;0)
At this point your cake should be filled with butter cream and staked. Grab your spatula and spread your frosting evenly over the entire thing - start at the top and spread out, the frosting will naturally slip to the sides for easy coverage.
I then "dressed" it up a bit by grabbing a small spoon, dipping it in water and making swirls all over it... super easy and everyone will be really impressed.
A perfect cake to celebrate some awesome people. oh... and the decorative strawberries are thanks to Kshonze :0)
Sweetness.
Friday, June 11, 2010
to change the template or not?
I need your help.
see... the blog has changed a little... I picked a different template.
Do you like it?
Should I keep it?
Should I go back to the original?
You have until Sunday, the 13th @ midnight to weigh-in.
Let me know... I heart comments and opinions!
see... the blog has changed a little... I picked a different template.
Do you like it?
Should I keep it?
Should I go back to the original?
You have until Sunday, the 13th @ midnight to weigh-in.
Let me know... I heart comments and opinions!
congratulations! you're 5 years old!


Let me tell you how to throw a surprise party ;0)
1. Gather a solid group of people... say, friends and family... Check
2. Buy some bubbly, grab some awesome catering and get some cake... triple check
3. Convince the people being surprised to show up... check!
4. Get the crowd to pay attention when said people arrive... we kinda dropped the ball on that one.
You might want a bit more context. The Whalesbone turned 5 on June 9th. Pretty awesome eh? I thought so. I was also super stoked to be invited to attend the celebratory lunch AND to bake the celebratory cake. Yep. That's right... I got to bake a cake (sweetness!)... recipe to follow ;0)
Friends and family gathered to celebrate Josh and Sherri's 5 years of success. The crowd was gathered, the balloons were hung, the bubbly was chilling... and in walked Josh (and Liam, aka Batman). We didn't jump out or yell surprise... we all kind of stared at each other, turned to Josh and stared some more... until Jen yelled "SURPRISE!" We got it right when Sherri walked in (it only took us a couple tries).
The lunch was catered by The Whalesbone catering - Kate (the caterer) supplied roasted vegetable sandwiches on focaccia, chicken and rhubarb on a cranberry nut bread, assortments of cheese, crostini, smoked salmon, scallops and olives... yeah. It was pretty rad.
And I baked a cake. Yep. A three-layered chocolate cake, filled with raspberry butter cream and covered in a chocolate fudge frosting. Yeah. That was pretty rad too.
I'm super stoked that I got to celebrate with the gang... I mean, even Barry, the first ever client was there. It was the bestest lunch break ever. And bubbly in the middle of the day is never a bad thing ;0)
Congrats guys! I look forward to making you another celebratory cake :0)
Tuesday, June 8, 2010
two reasons to celebrate...


The baking duo were at it again!
Remember how Emily and I baked and decorated that engagement party cake? Well, one of my other colleagues saw the cake and asked me if we could make her a baby shower cake. Her son and his girlfriend are expecting twins... sex of the babies are unknown, but she was hosting a party on Sunday and needed a cake for 50 people.
Done.
We sat down and sorted out the details.
We decided on a square, two tiered, marble cake - extra chocolate in the batter (the parents to be are chocoholics).
I then sent her some ideas to view and she picked the peas in a pod... well two little peas in a pod (they are expecting twins after all). Em did an amazing job covering the cakes in the fondant, shaping the little peas and pods, making the teeny feet...
I said there were two reasons to celebrate right? Well... I didn't mean two because of the twins :0)
4 days before the shower cake was due, my colleague asked for a second cake. Her younger son and his girlfriend were both celebrating their graduation this past weekend also, and she wanted a cake for that occasion too!
Done.
This one, a simple 3 layered lemon cake (a round), covered in thick butter cream. Emily was given carte blanche for decorating, and I think she did an amazing job with the fondant graduation caps and the blue and yellow piping... simple and classic. And all on short notice!
Monday, June 7, 2010
what the heck does manicuring a shallot mean?!


Friday night... I was nervous. Why? Check out my "to-do list":
1. whip and pipe brown butter
2. make a mignonette sauce... a lot of it
You're probably wondering why either of those things would make me a tad nervous... well, let me explain.
I am highly intimidated by piping bags and tips. When Emily and I decorated those wedding cupcakes, I had her re-pipe everything I had done... hers looked fluffier, taller, and just plain ol' prettier. Mine looked sad and flat. Not something you want at a wedding ;0)
I digress... On Friday night, Charlotte asked me to whip brown butter and then pipe it out. Although I heart the whipping part - it meant I got to use the industrial-sized stand mixer (super cool)... I really didn't heart the thought of having to pull out a piping bag... that is, until I got to use the large star tip. Seriously! That tip has alleviated all my fears associated with piping... check out the pictures...rows of brown butter, piped, ready to be chilled and then served.
I think I might say I enjoyed doing that as much as I enjoy making sundaes.
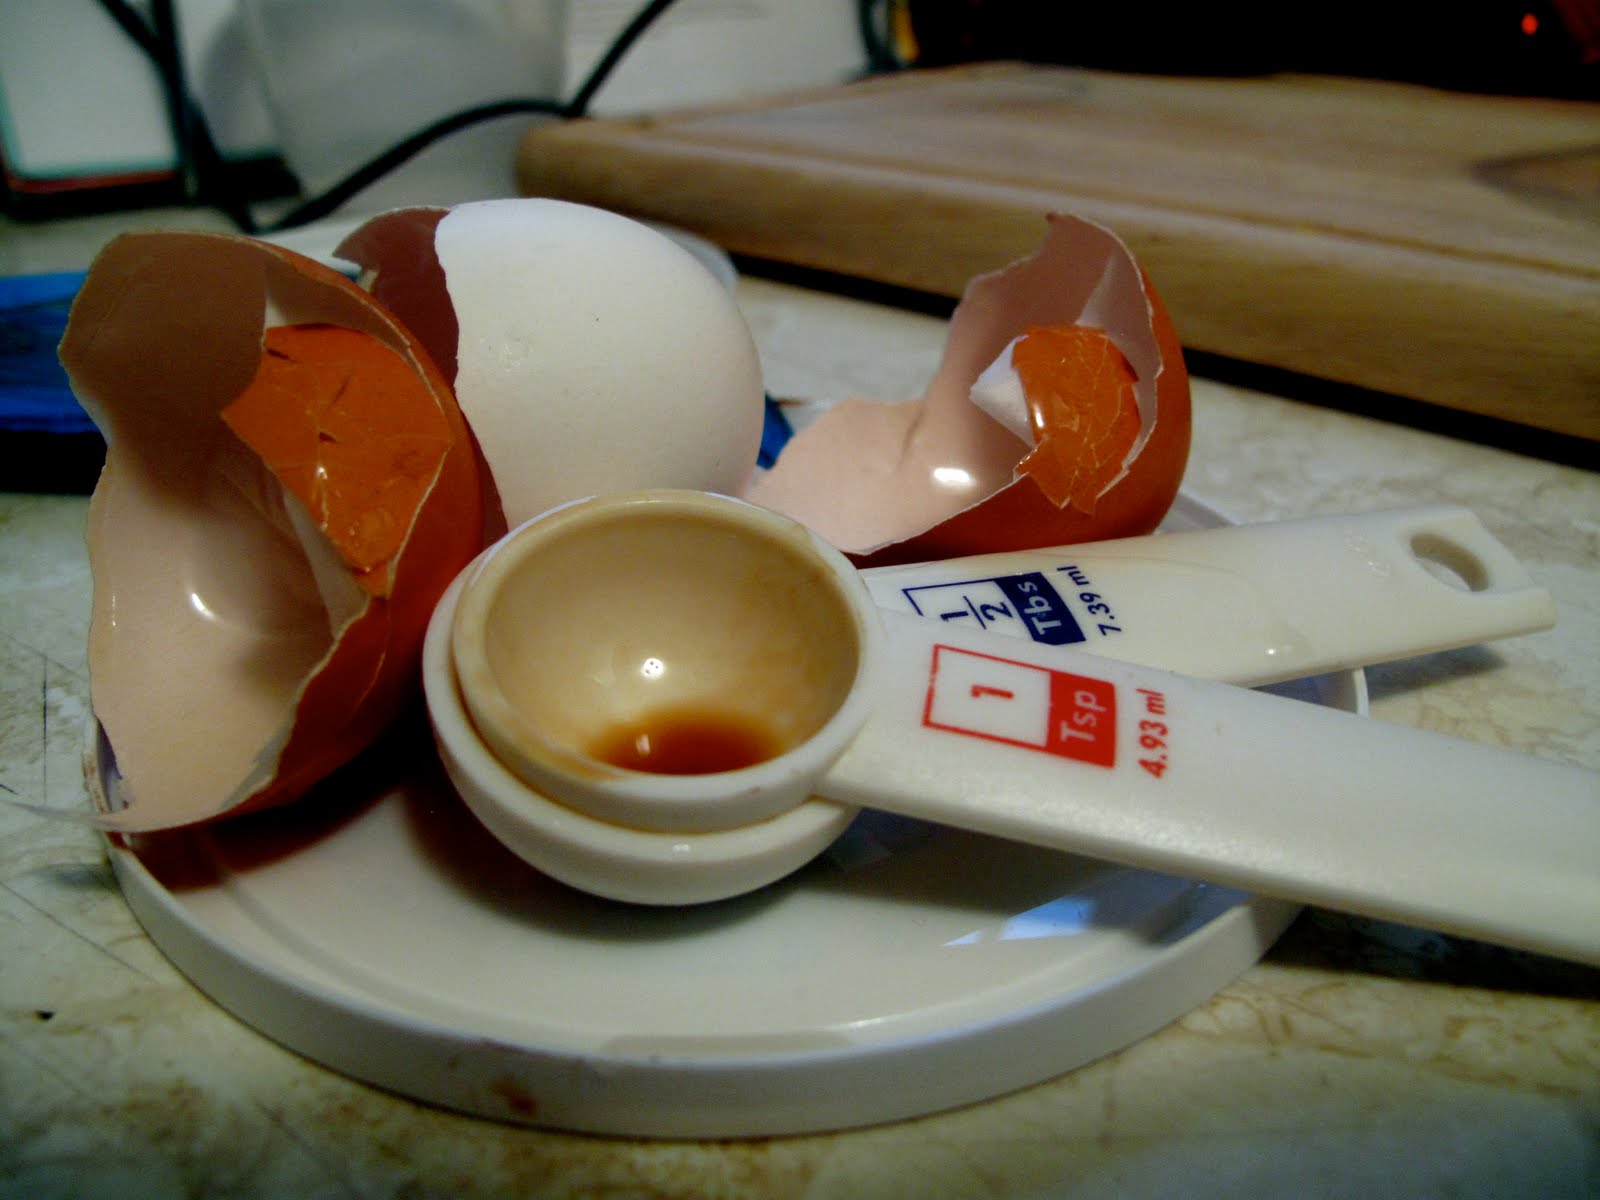
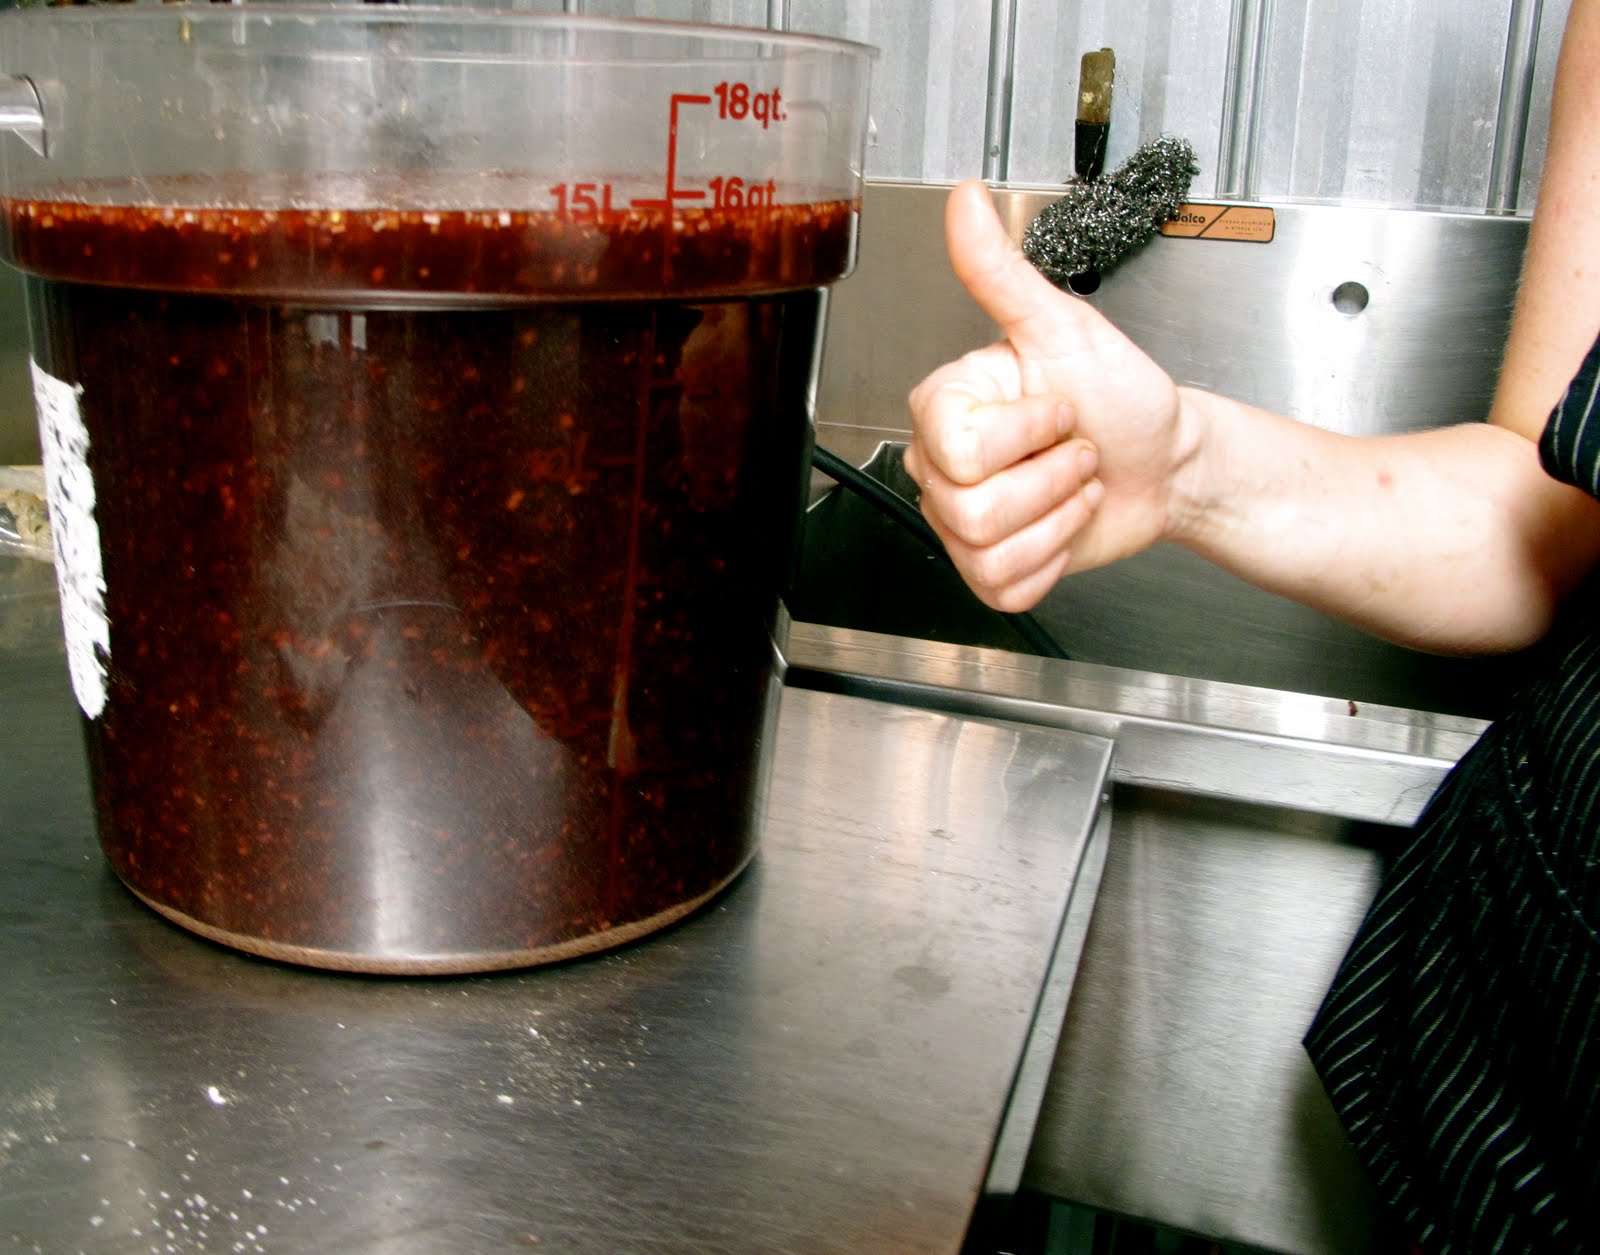
Now onto my second task... making a mignonette sauce. Charlotte showed me the recipe - and told me that I would be making it times 12! Yep. That's right. 12.
First thing to tackle - manicuring shallots. Well... I attempted to manicure the shallots, but didn't quite succeed. Manicuring means cutting the shallots into teeny, tiny pieces in 3 cuts of the knife. I diced. You know, when you chop it as finely as you can and then run your knife all over it again, making it even smaller? The difference... manicuring keeps the oils inside the shallot, dicing activates the oils. Basically, the flavours are different.
Back to the shallots. How many hours do you think it would take you to finely dice a large Ziploc bag full of shallots? It took me 3 hours (with some interruptions for sundae making)... 3 hours of slicing the shallots into 1/8 sized pieces. My goal is to be able to do this again by Christmas in half the time. Seriously. This time I finely diced. Next time I manicure.
You'll notice by the pictures that I showed you my step process:
-remove shallots from bag and place on cutting board
-cut in half
-slice horizontally and vertically
-create a pretty pile
Once my large (aren't they beautiful?) pile of shallots was prepared, I set about gathering my other ingredients: red wine vinegar, sherry vinegar, red wine, Tabasco sauce, salt, pepper, Worcestershire sauce. Another lesson... when you're making 16 quarts of mignonette sauce you need to use an entire bottle of Worcestershire sauce. I thought I'd throw that out there...cuz you never know when you'll need 16 quarts ;0)
Isn't it pretty? Charlotte gave me a thumbs up :0) Tasks completed... PLUS I got to invent my new favourite sundae...
vanilla ice cream / passionfruit coulis / brownie bits / sliced bananas / drizzle of chocolate ganache
Perfect ending to the evening... well... actually sitting around with a glass of wine upstairs with the crew was the prefect end, but that sundae sure did hit the spot!
Thursday, June 3, 2010
wedding cake UPDATE

Remember those cupcakes I baked along with that mini cake? I wanted to show you how pretty they looked at the actual wedding! The bride told me the "cakeys" were awesome, and that her mother really enjoyed eating the cutting cake while the bride and groom were on their honeymoon.
That brought a smile to my face... so I'm passing that smile along.
:0)
Subscribe to:
Posts (Atom)